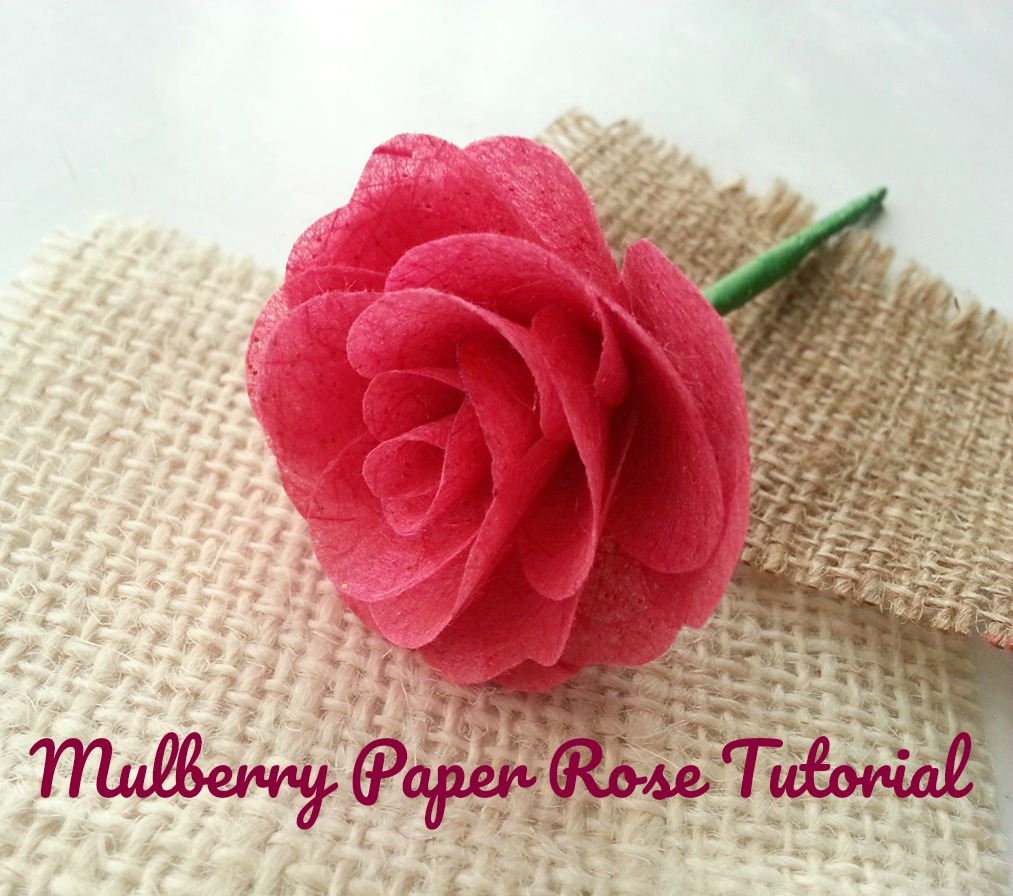
Mulberry Paper Rose Tutorial
Flower Craft Project
This Mulberry Paper Rose tutorial is an easy craft that you can use for everything from scrapbooking and gift decorations to bridal headpieces and bouquets. There are many more way to use them, but those are the most popular.
Supplies needed:
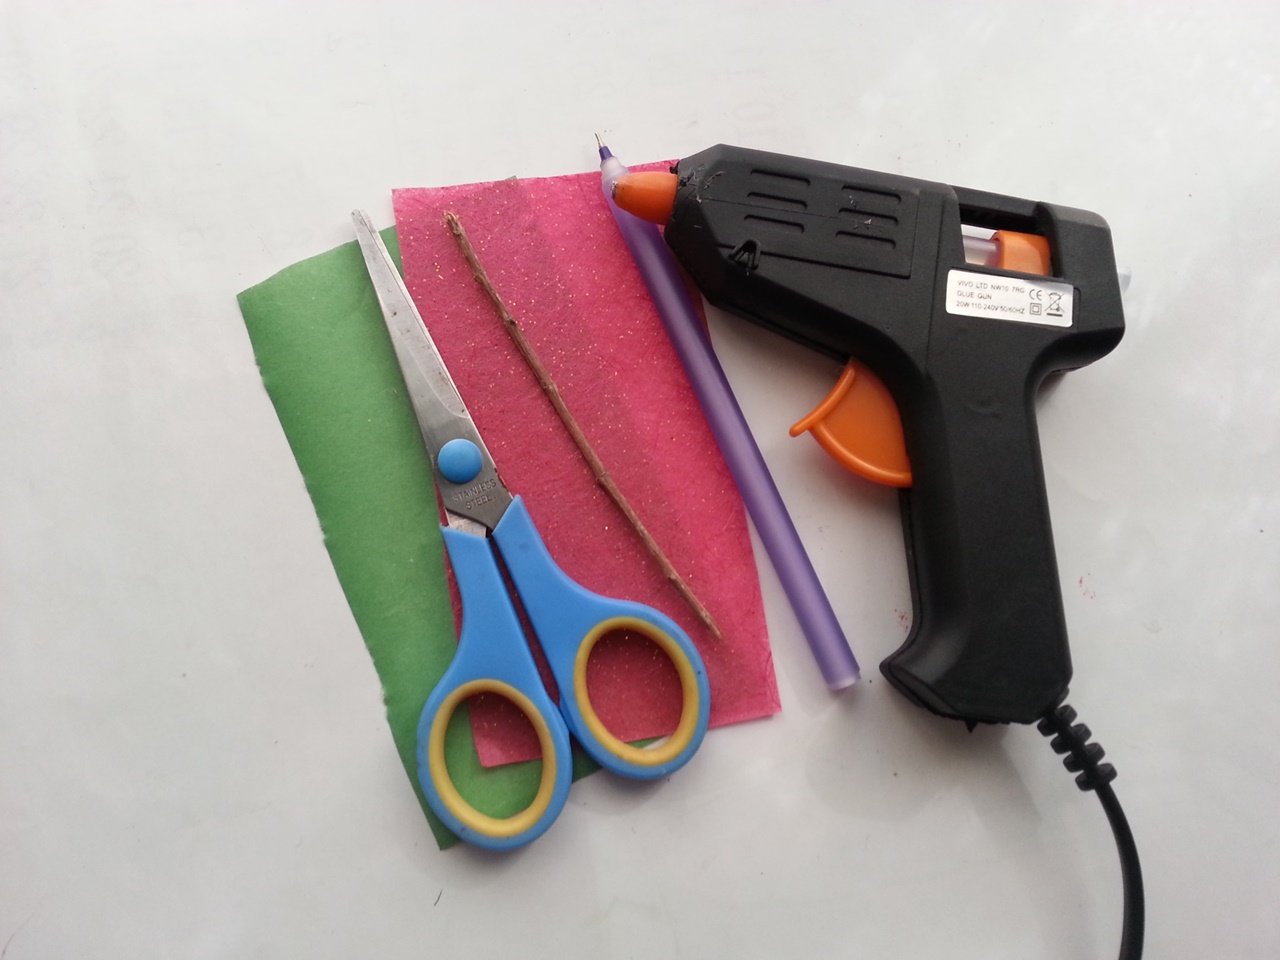
1. Mulberry paper
2. Craft glue or hot glue gun
3. Craft stick or small dry twig
4. Scissors
5. Pencil or chalk – to trace the template
6. Template printout
Instructions
Step (1)
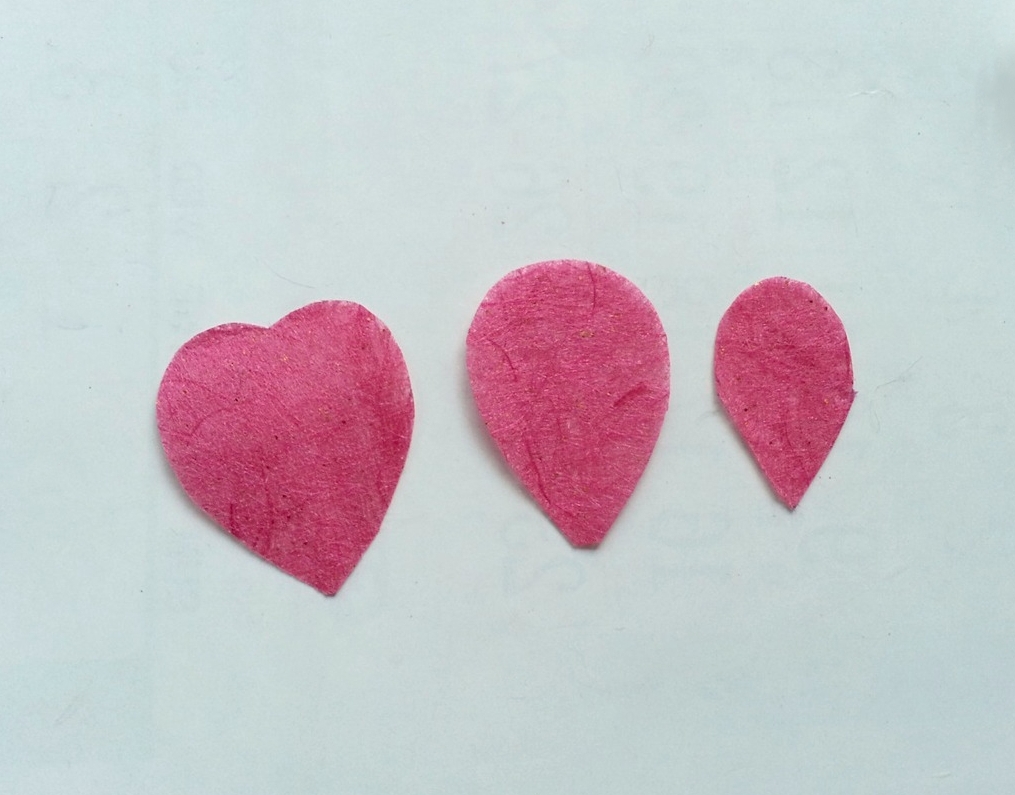
The template for this flower includes 3 different sized petals- small, medium and large. You will have to cut out 4 small petals, 8 medium petals and 8 large petals. Simply trace and cut out the petals from the selected mulberry paper.
Step (2)
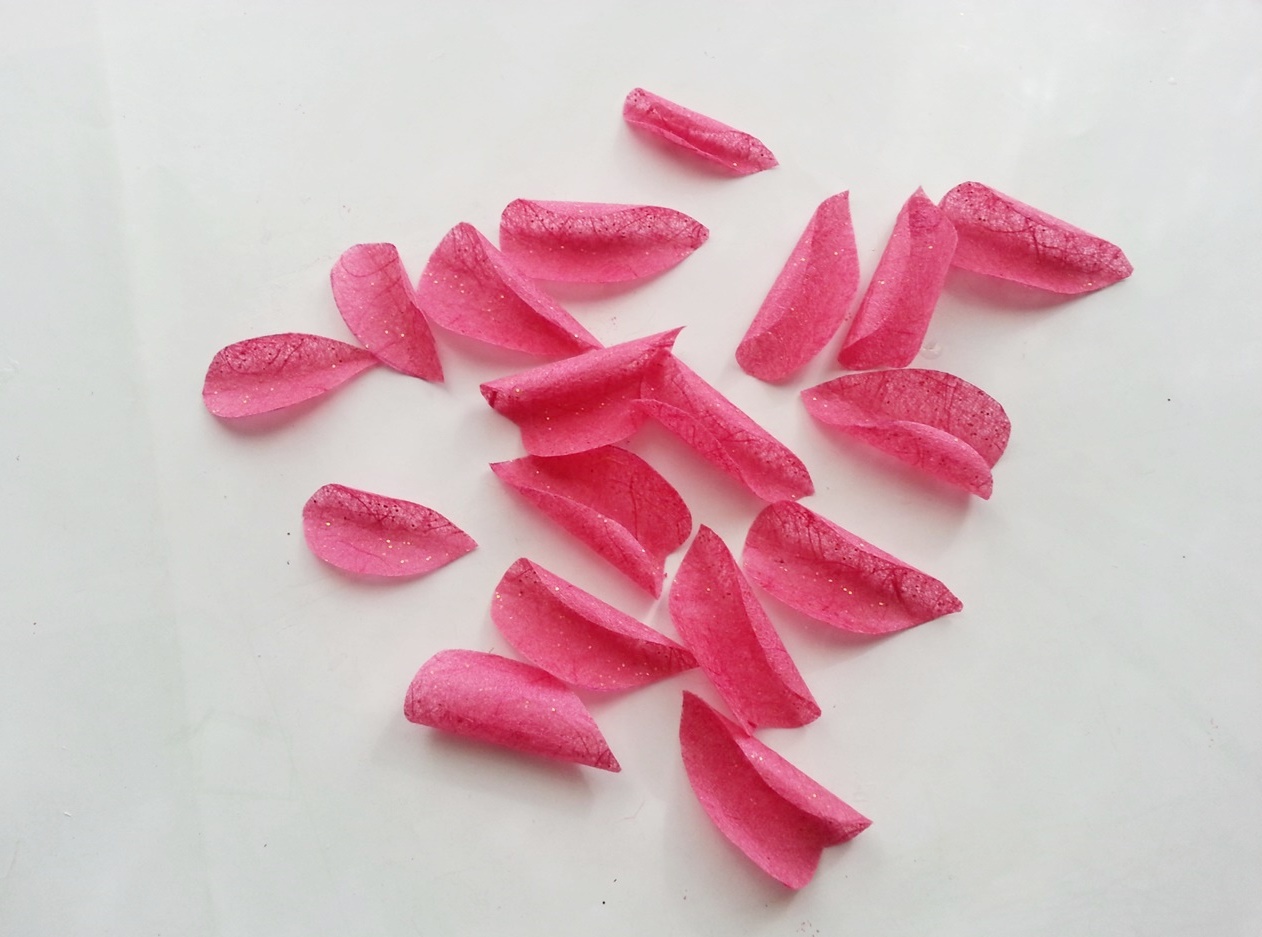
Take a small round object to curl the petals vertically. Simply hold a petal vertically along the round object and wrap it around the object firmly, making sure the petal is curled nicely.
Step (3)
Similarly curl the rest of the petals. You can cut out more petals for each size if you wish to create a larger and more blooming rose pattern.
Step (4)
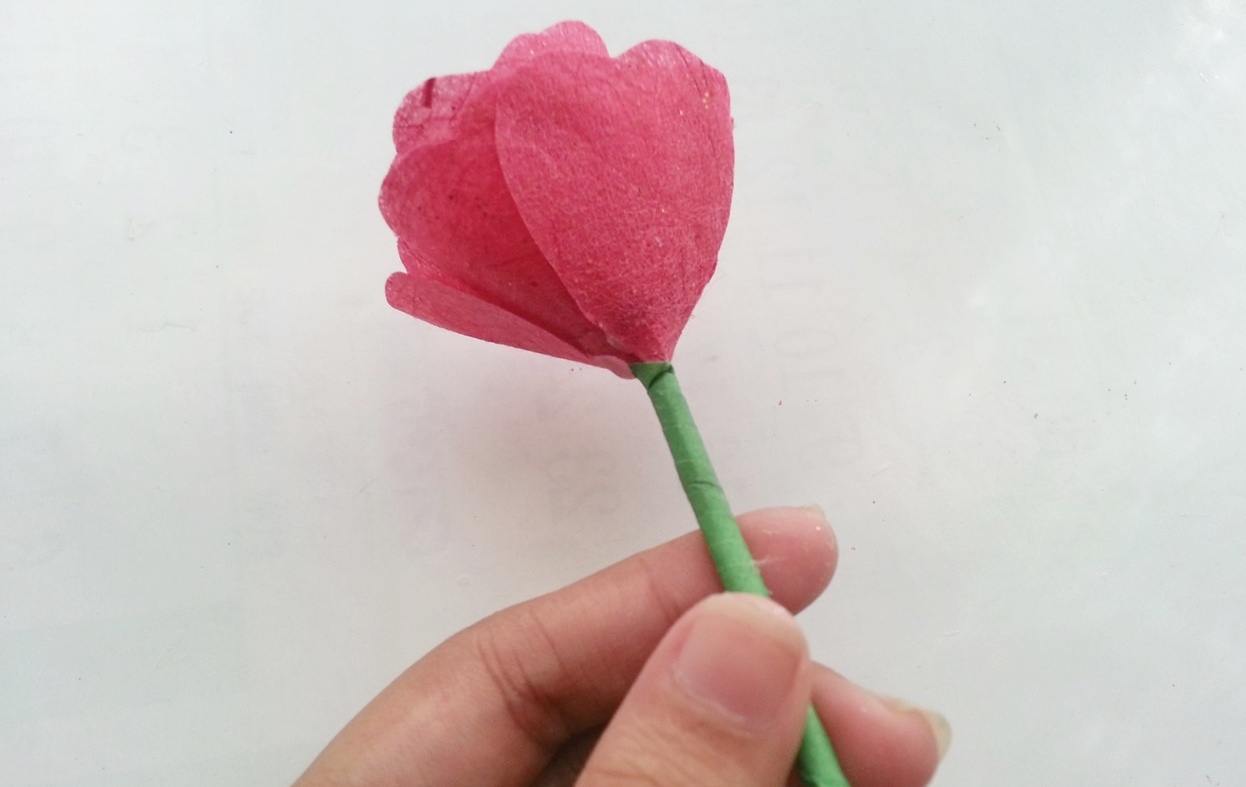
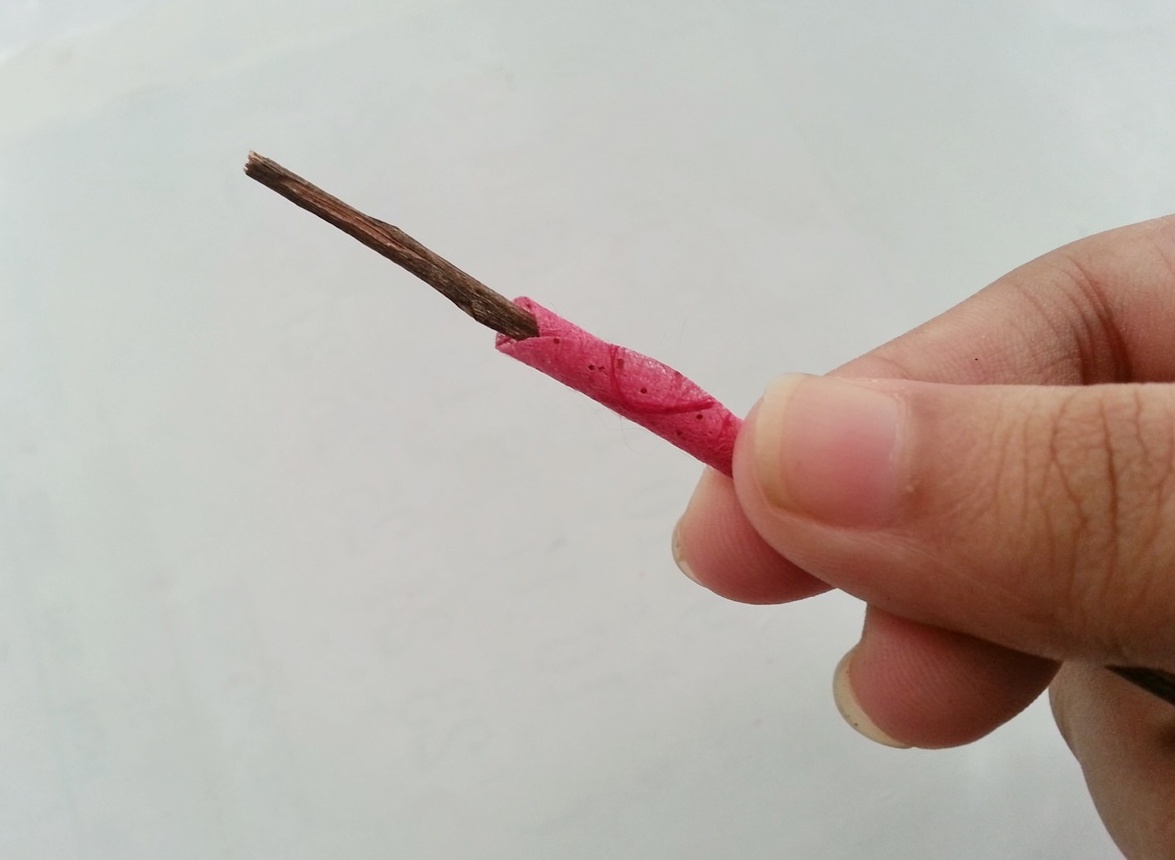
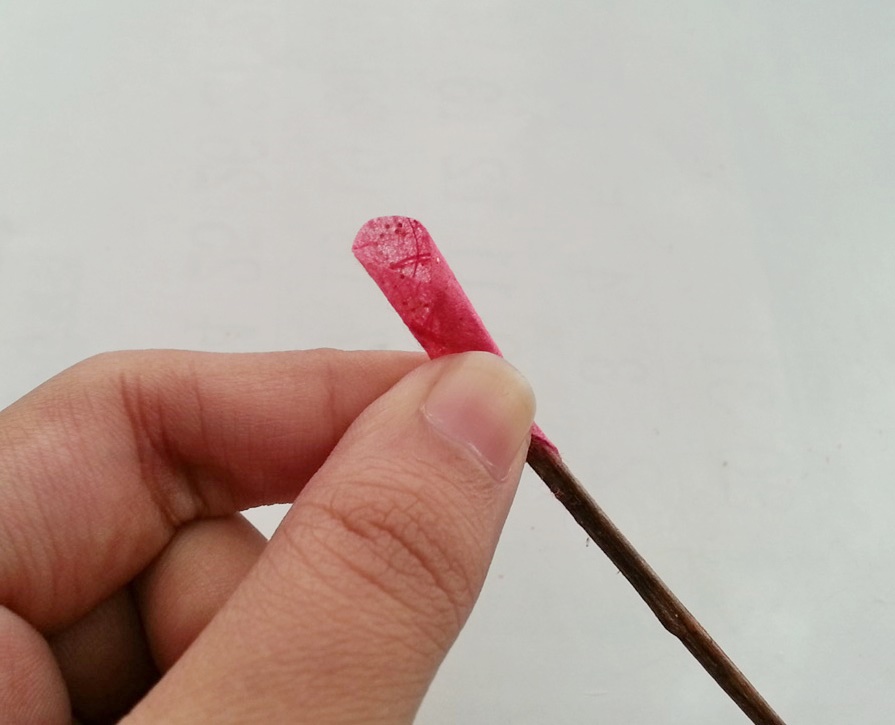
Now take the twig or stick for the stem and glue the first small petal by wrapping it around the top edge of the twig or stick.
Step (5)
Glue the 3 other small petals around the first petal one by one. Glue these 4 small petals in a criss-cross style.
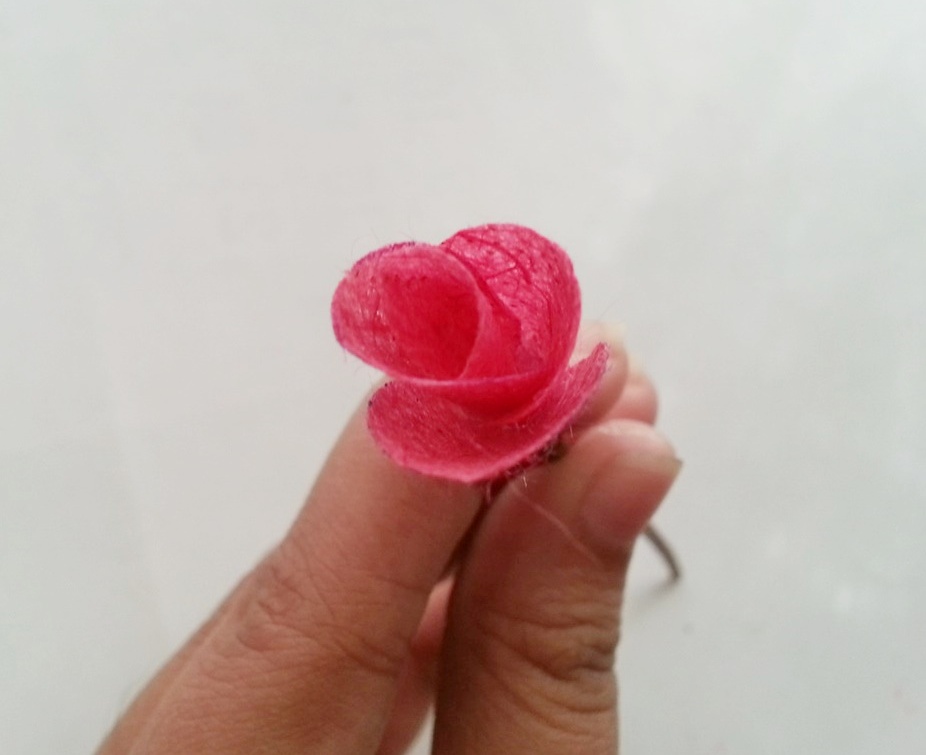
Step (6)
Start to glue the medium petals around the small petals once you’re done gluing the small ones.
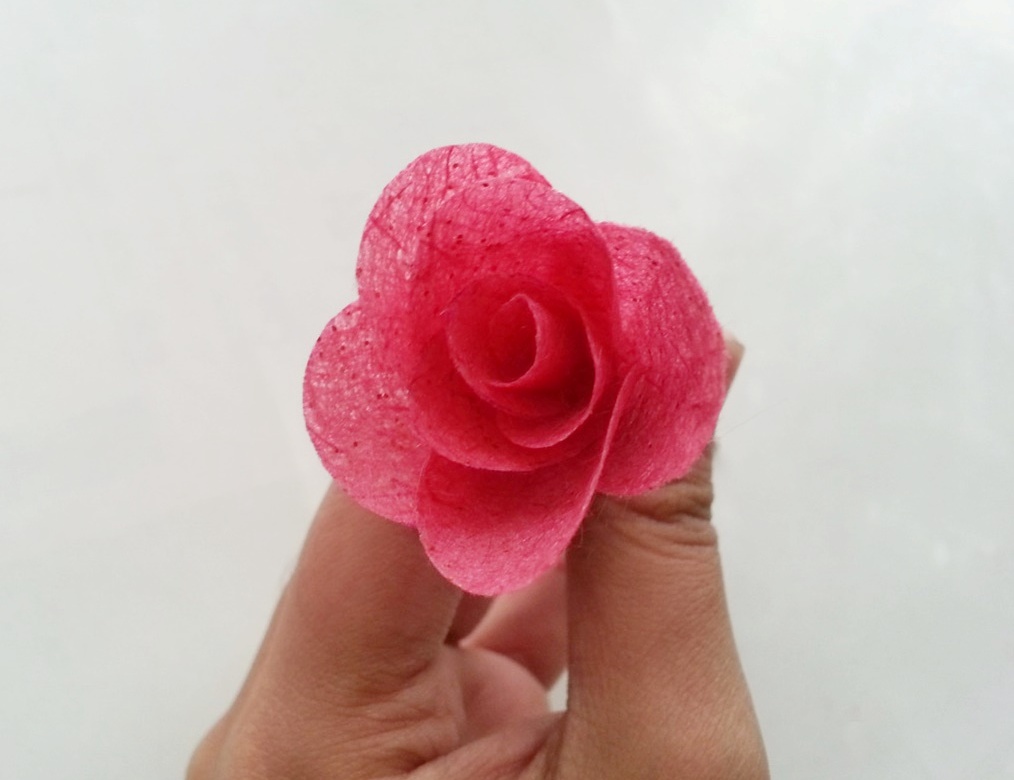
Step (7)
While gluing the petals make sure that the petals are glued evenly all around and the arrangement is neat.
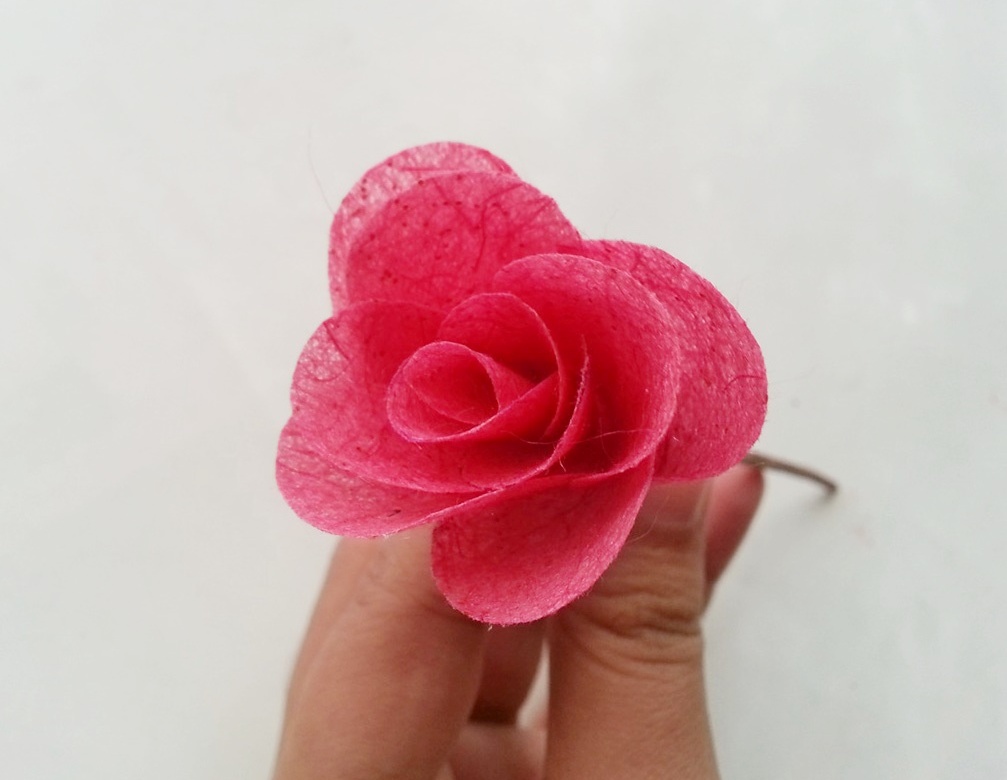
Step (8)
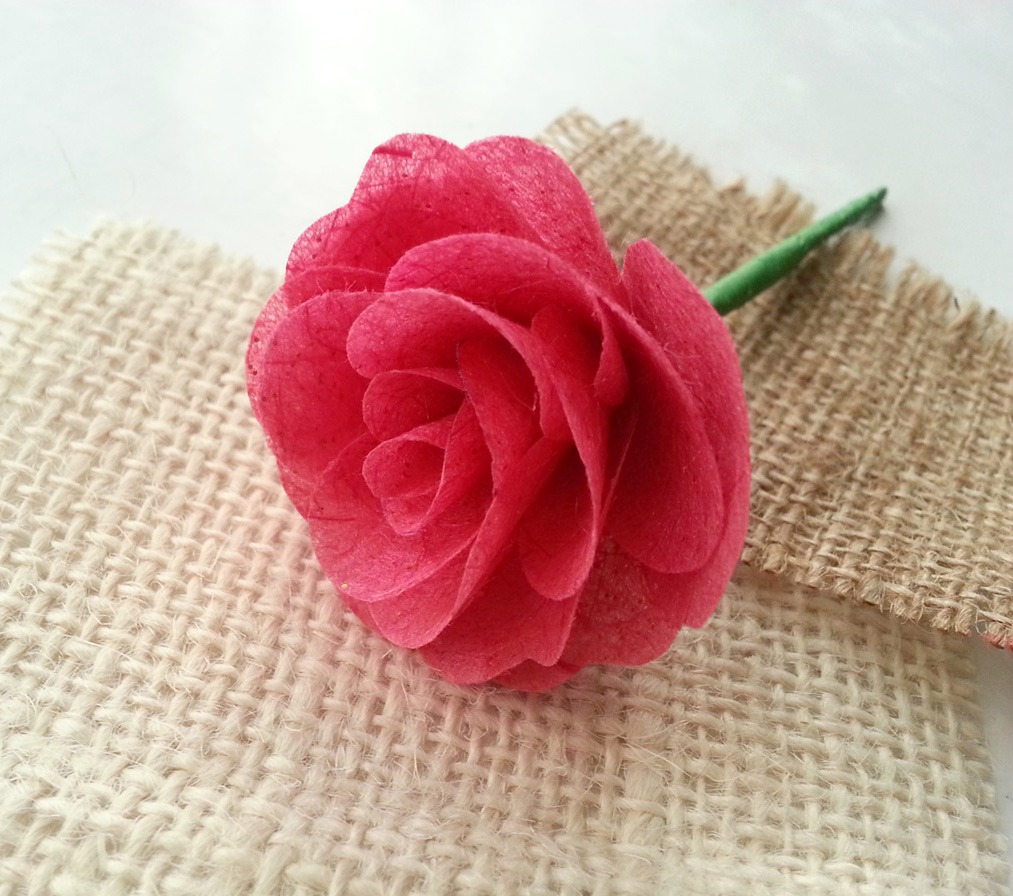
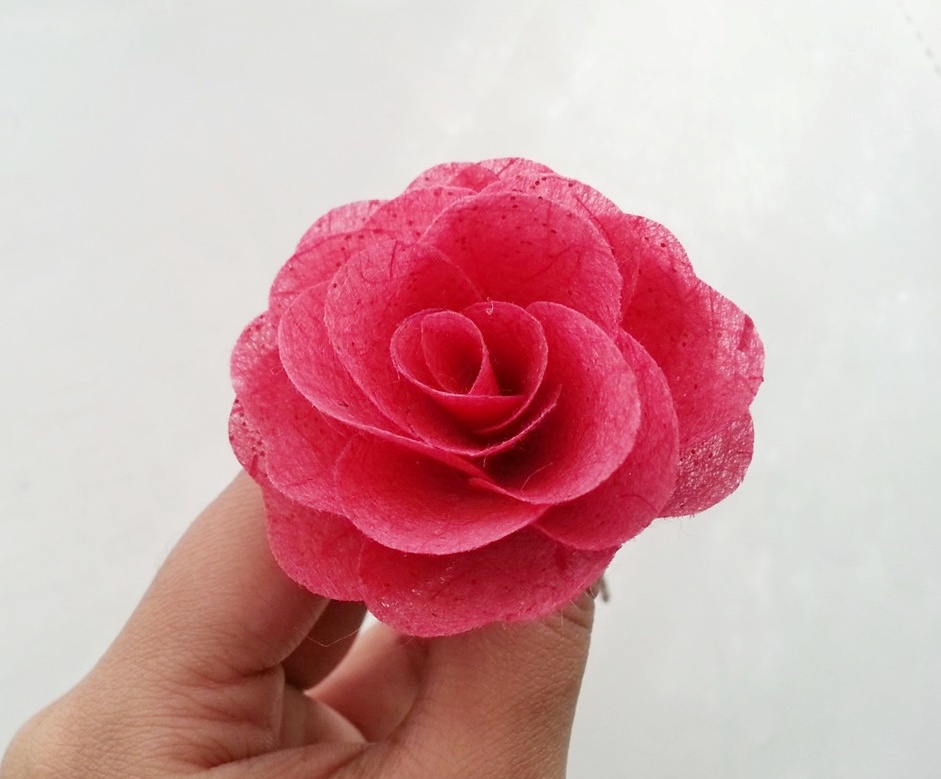
Finally, glue the large petals. You can add more large petals if you want the rose to give the rose a more blooming look.
????
Step (9)
Once you are satisfies with the rose pattern take a strip of green craft paper and wrap the twig or stick with the green craft paper. Allow the glue to dry in case of craft glue. Use hot glue gun for quick creation.